The Fashion of the Moment: Flush-to-the-Wall Doors
### Wall Flush Doors: A Modern Trend in Architecture and Interior Design
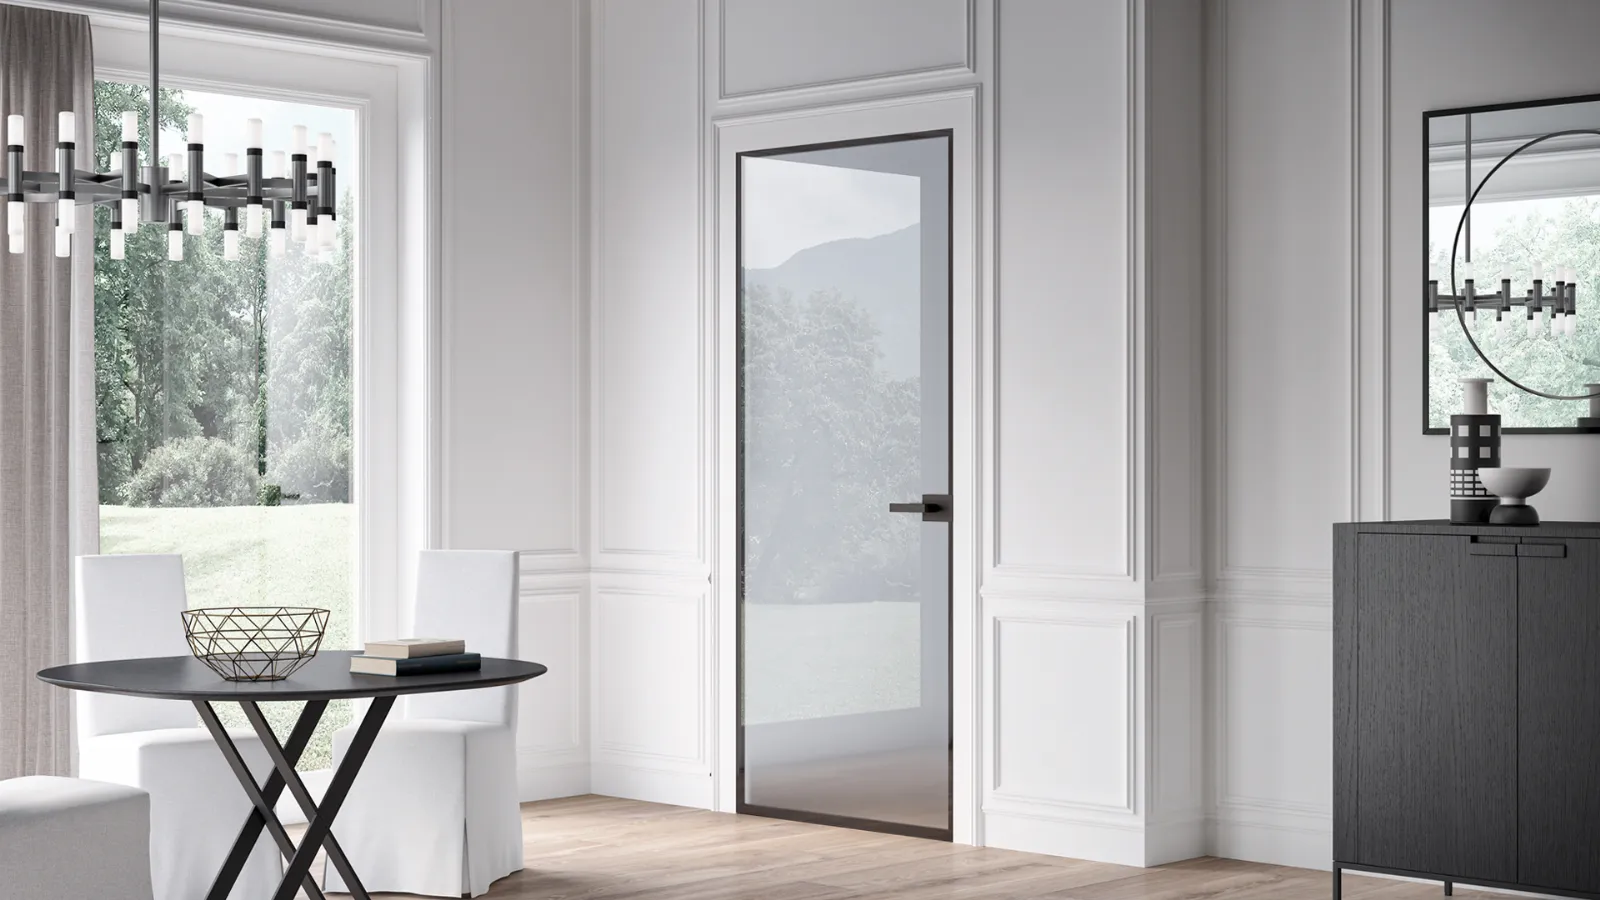
In recent years, architecture and interior design have witnessed the rise of a particularly intriguing trend: wall flush doors. Aesthetically minimal, these doors appear as panels seamlessly integrated with the wall, blending almost completely except for the handle. Whether screen-printed, mirrored, hinged, or sliding, wall flush doors come in various styles and preferences, making them an ideal choice for those who desire a clean and modern design.
#### Why Choose Wall Flush Doors?
Wall flush doors offer numerous advantages, both aesthetic and functional. Their clean, uncluttered lines help create more spacious and luminous environments, fostering a sense of continuity and uniformity. This solution is particularly appreciated in modern and minimalist spaces, where every detail is crafted to maximise functionality without compromising style.
#### DIY Installation: A Step-by-Step Guide
If you’re a DIY enthusiast, installing a wall flush hinged door is not an impossible task. Here’s a detailed guide to help you through the process.
1. **Preparing the Frame**
On Masonry or Drywall:
The first step is to prepare the frame. This can be done on both masonry and drywall. Remove any traditional frames until the wall is completely bare. This work should be completed before re-plastering the room to achieve a clean and precise result.
2. **Placing the New Frame**
Position the new frame to be recessed perfectly into the door opening. Ensure that you have measured the frame accurately. It may be necessary to slightly "widen" the door frame to fit the new frame. Wall flush doors are available in standard sizes, typically ranging from 60 to 80 cm in width and 210 cm in height.
3. **Integration and Finishing**
Once the frame is integrated into the wall cavity, proceed with finishing the drywall (if applicable) or masonry. Fill and paint the area to make the frame completely invisible and perfectly integrated with the wall.
4. **Mounting the Door**
Once the frame is ready, install the door into the frame. Wall flush doors generally come with a mounting kit that includes hinges, screws, locks, and handles. This type of door does not have the traditional "stop bead"; instead, it features a rubber "jacket" that fits directly into the frame.
5. **Preparing the Hinges**
Attach the hinges to the door, which is usually pre-fitted with slots and holes for hinges and screws. Install the lock and handle according to the instructions provided in the door kit. Use a screwdriver or a drill, and a small hammer to better fit the components into place.
6. **Securing the Door**
Secure the other side of the hinges to the frame using screws and an electric screwdriver. Adjust the hinge position to modify the door level if necessary.
#### Final Tips
Wall flush doors are ideal if you have not yet finished plastering the wall and if your floor does not require skirting boards. Resin floors, which do not need skirting boards, are perfect for this type of installation.
Alternatively, you might opt for wall flush doors with integrated skirting boards to maintain the final aesthetic effect intact.
#### Conclusion
Wall flush doors represent a modern and refined solution for those seeking elegant and functional spaces. With a bit of patience and the right tools, you can install a wall flush door yourself, transforming your living space into an example of contemporary design. If you’re considering a home renovation, this innovative option is worth considering. Visit Forme Italia’s website to explore all available solutions and start transforming your spaces.
Get inspired by our solutions and read more articles on our blog for additional renovation and interior design ideas.